Setting Up the Prolee Hamster Cage
Welp, I got another hamster!
December has truly been a month of hamsters! And I’m here for it.
If you haven’t been listening to my podcast on Spotify or YouTube, I got two robo sisters from a college student moving home, then I got another male robo from another hamster rescuer who saved a robo litter from becoming snake food.
This male robo, whose name I believe will be “Stan” (?) is now living in this 800 sq in Prolee hamster enclosure!
Setting up a hamster cage can be tricky, so I thought it might be helpful to share my current method.
Please note- the Prolee Hamster Cage is 40” x 20” x 20” (you can see it on Amazon here: https://amzn.to/3NVw0Eh ) - fairly comparable to a 200 qt bin cage in size & shape. However, the methods shown here are how I set up all of my hamster cages, then tweak for size, shape, and available items.

Step One: Put in the major items, arrange
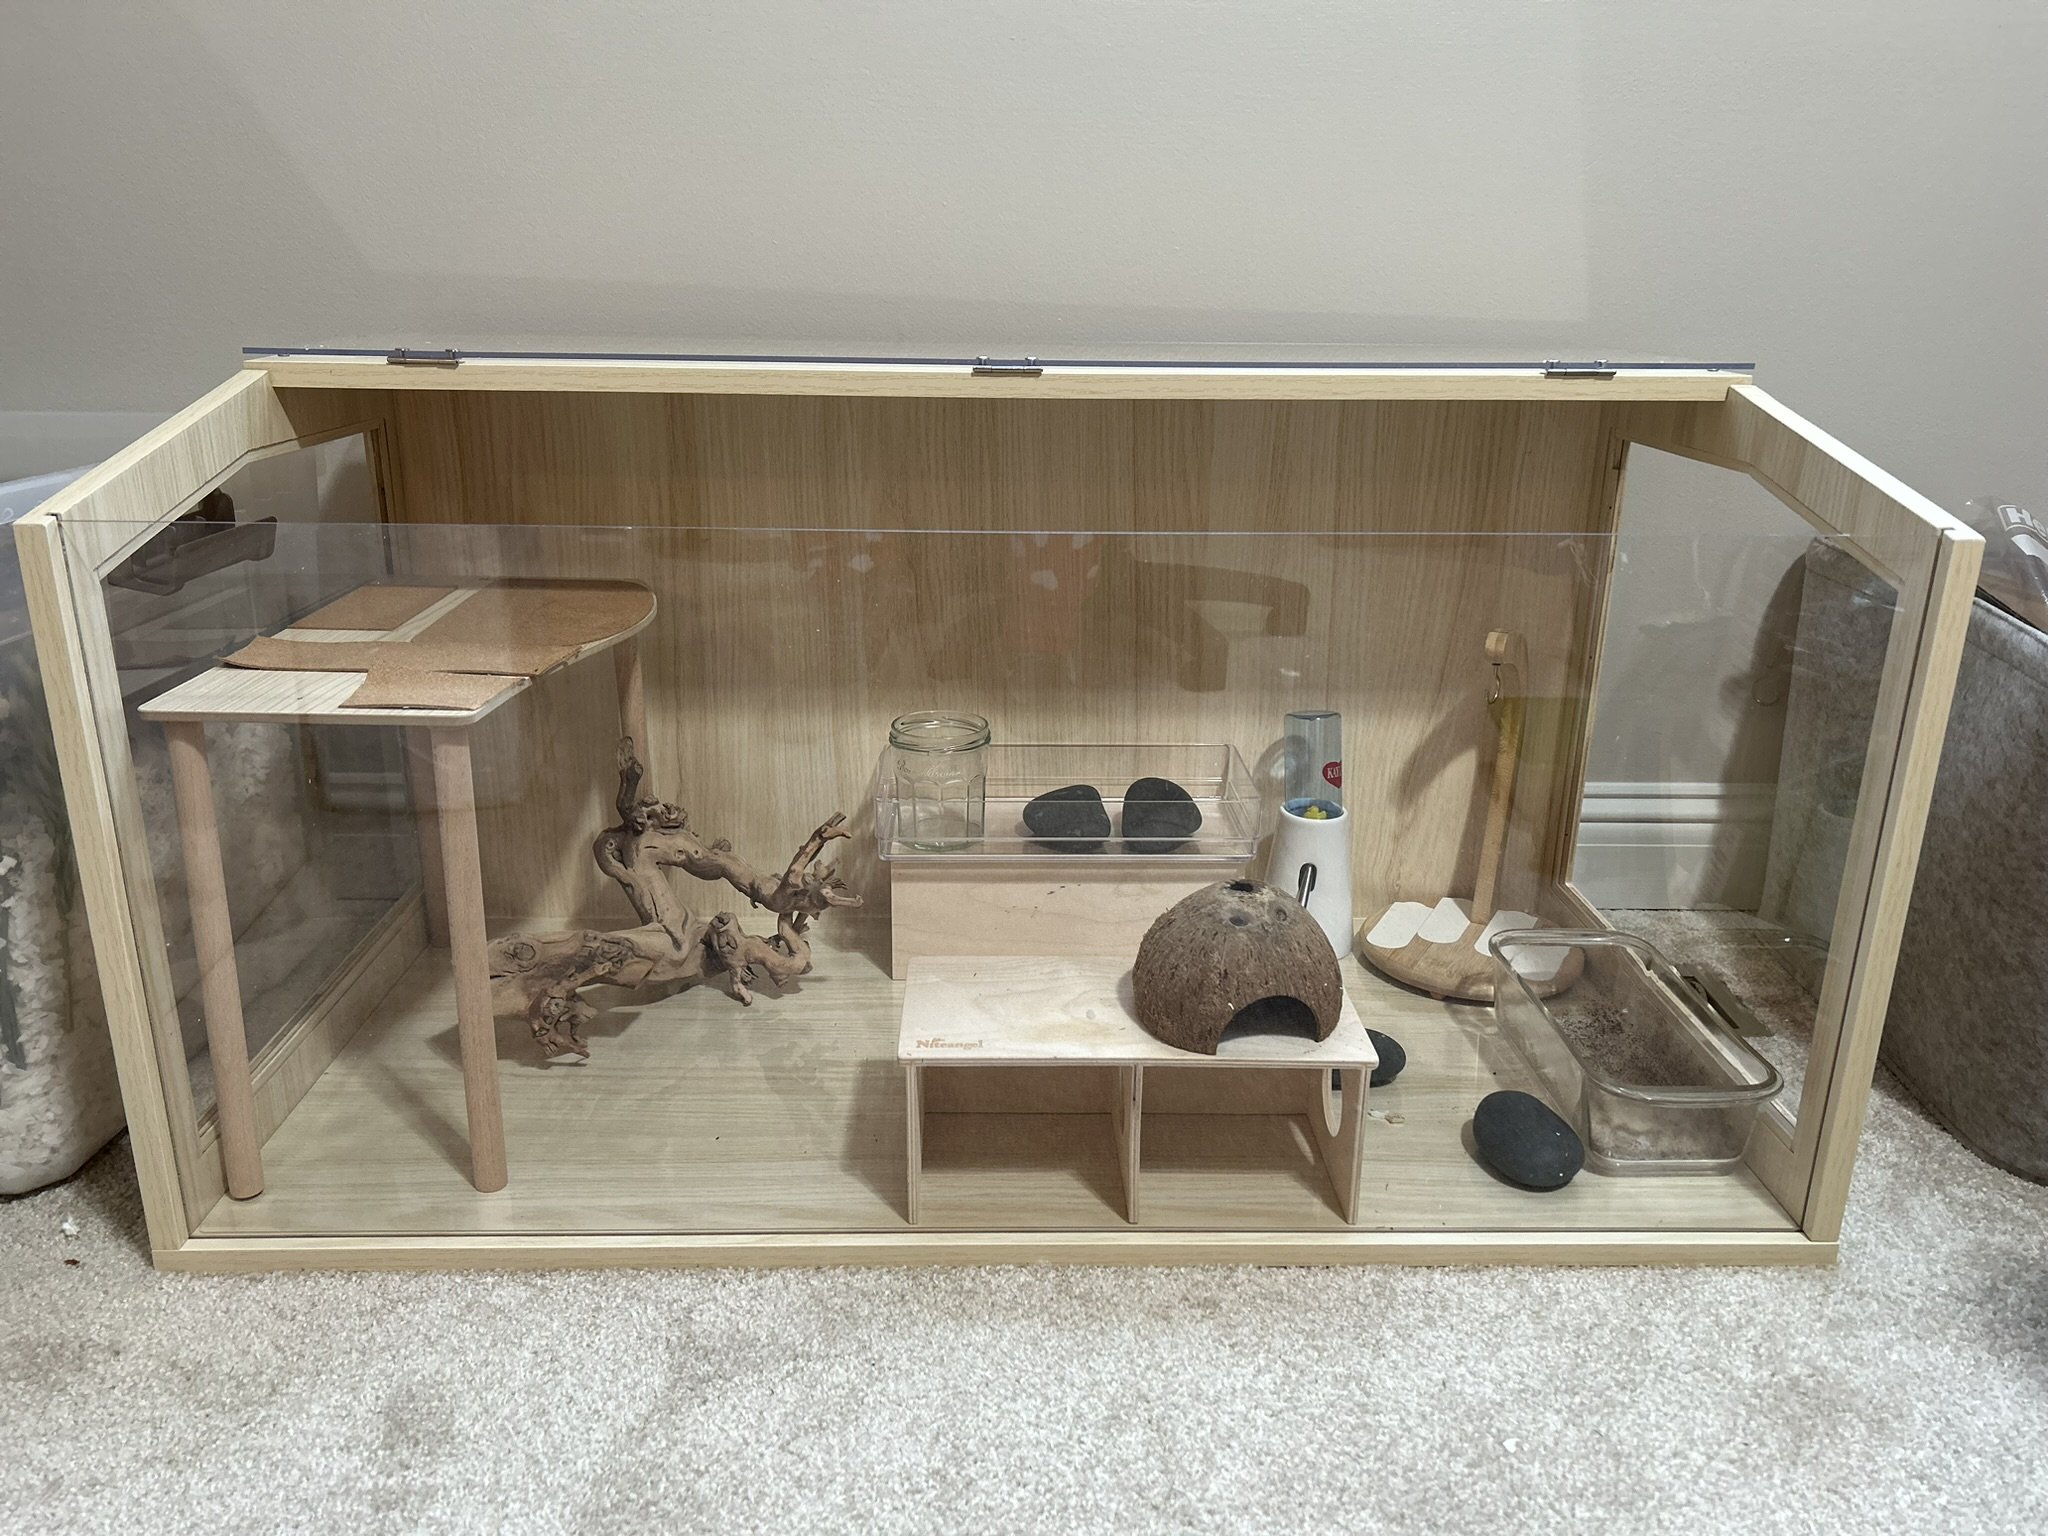
If you’re not sure what essential hamster item you need, it’s probably a platform! I think platforms are highly undervalued in the hamster world. A platform maximizes your space by giving your hamster safe burrowing area AND exciting things above them burrows! I like to have a sort of stair-step of platforms, from very high at one end (12”) to flat at the other end, medium platforms in between.

Here I added a 7” Niteangel platform in the back and a double peep shed in the front. I’m not sure how I feel about that drop off towards the wheel though…


Step Two: adding in substrates

Once my items are in place, I start with hemp bedding. I like to provide a few textures for my hamsters, and I love that hemp is soft & eco friendly (I much prefer it to aspen!). Hemp, if you didn’t know, is a very easy plant to grow. It does not need a lot of water or pest control!
Another angle with the hemp in there
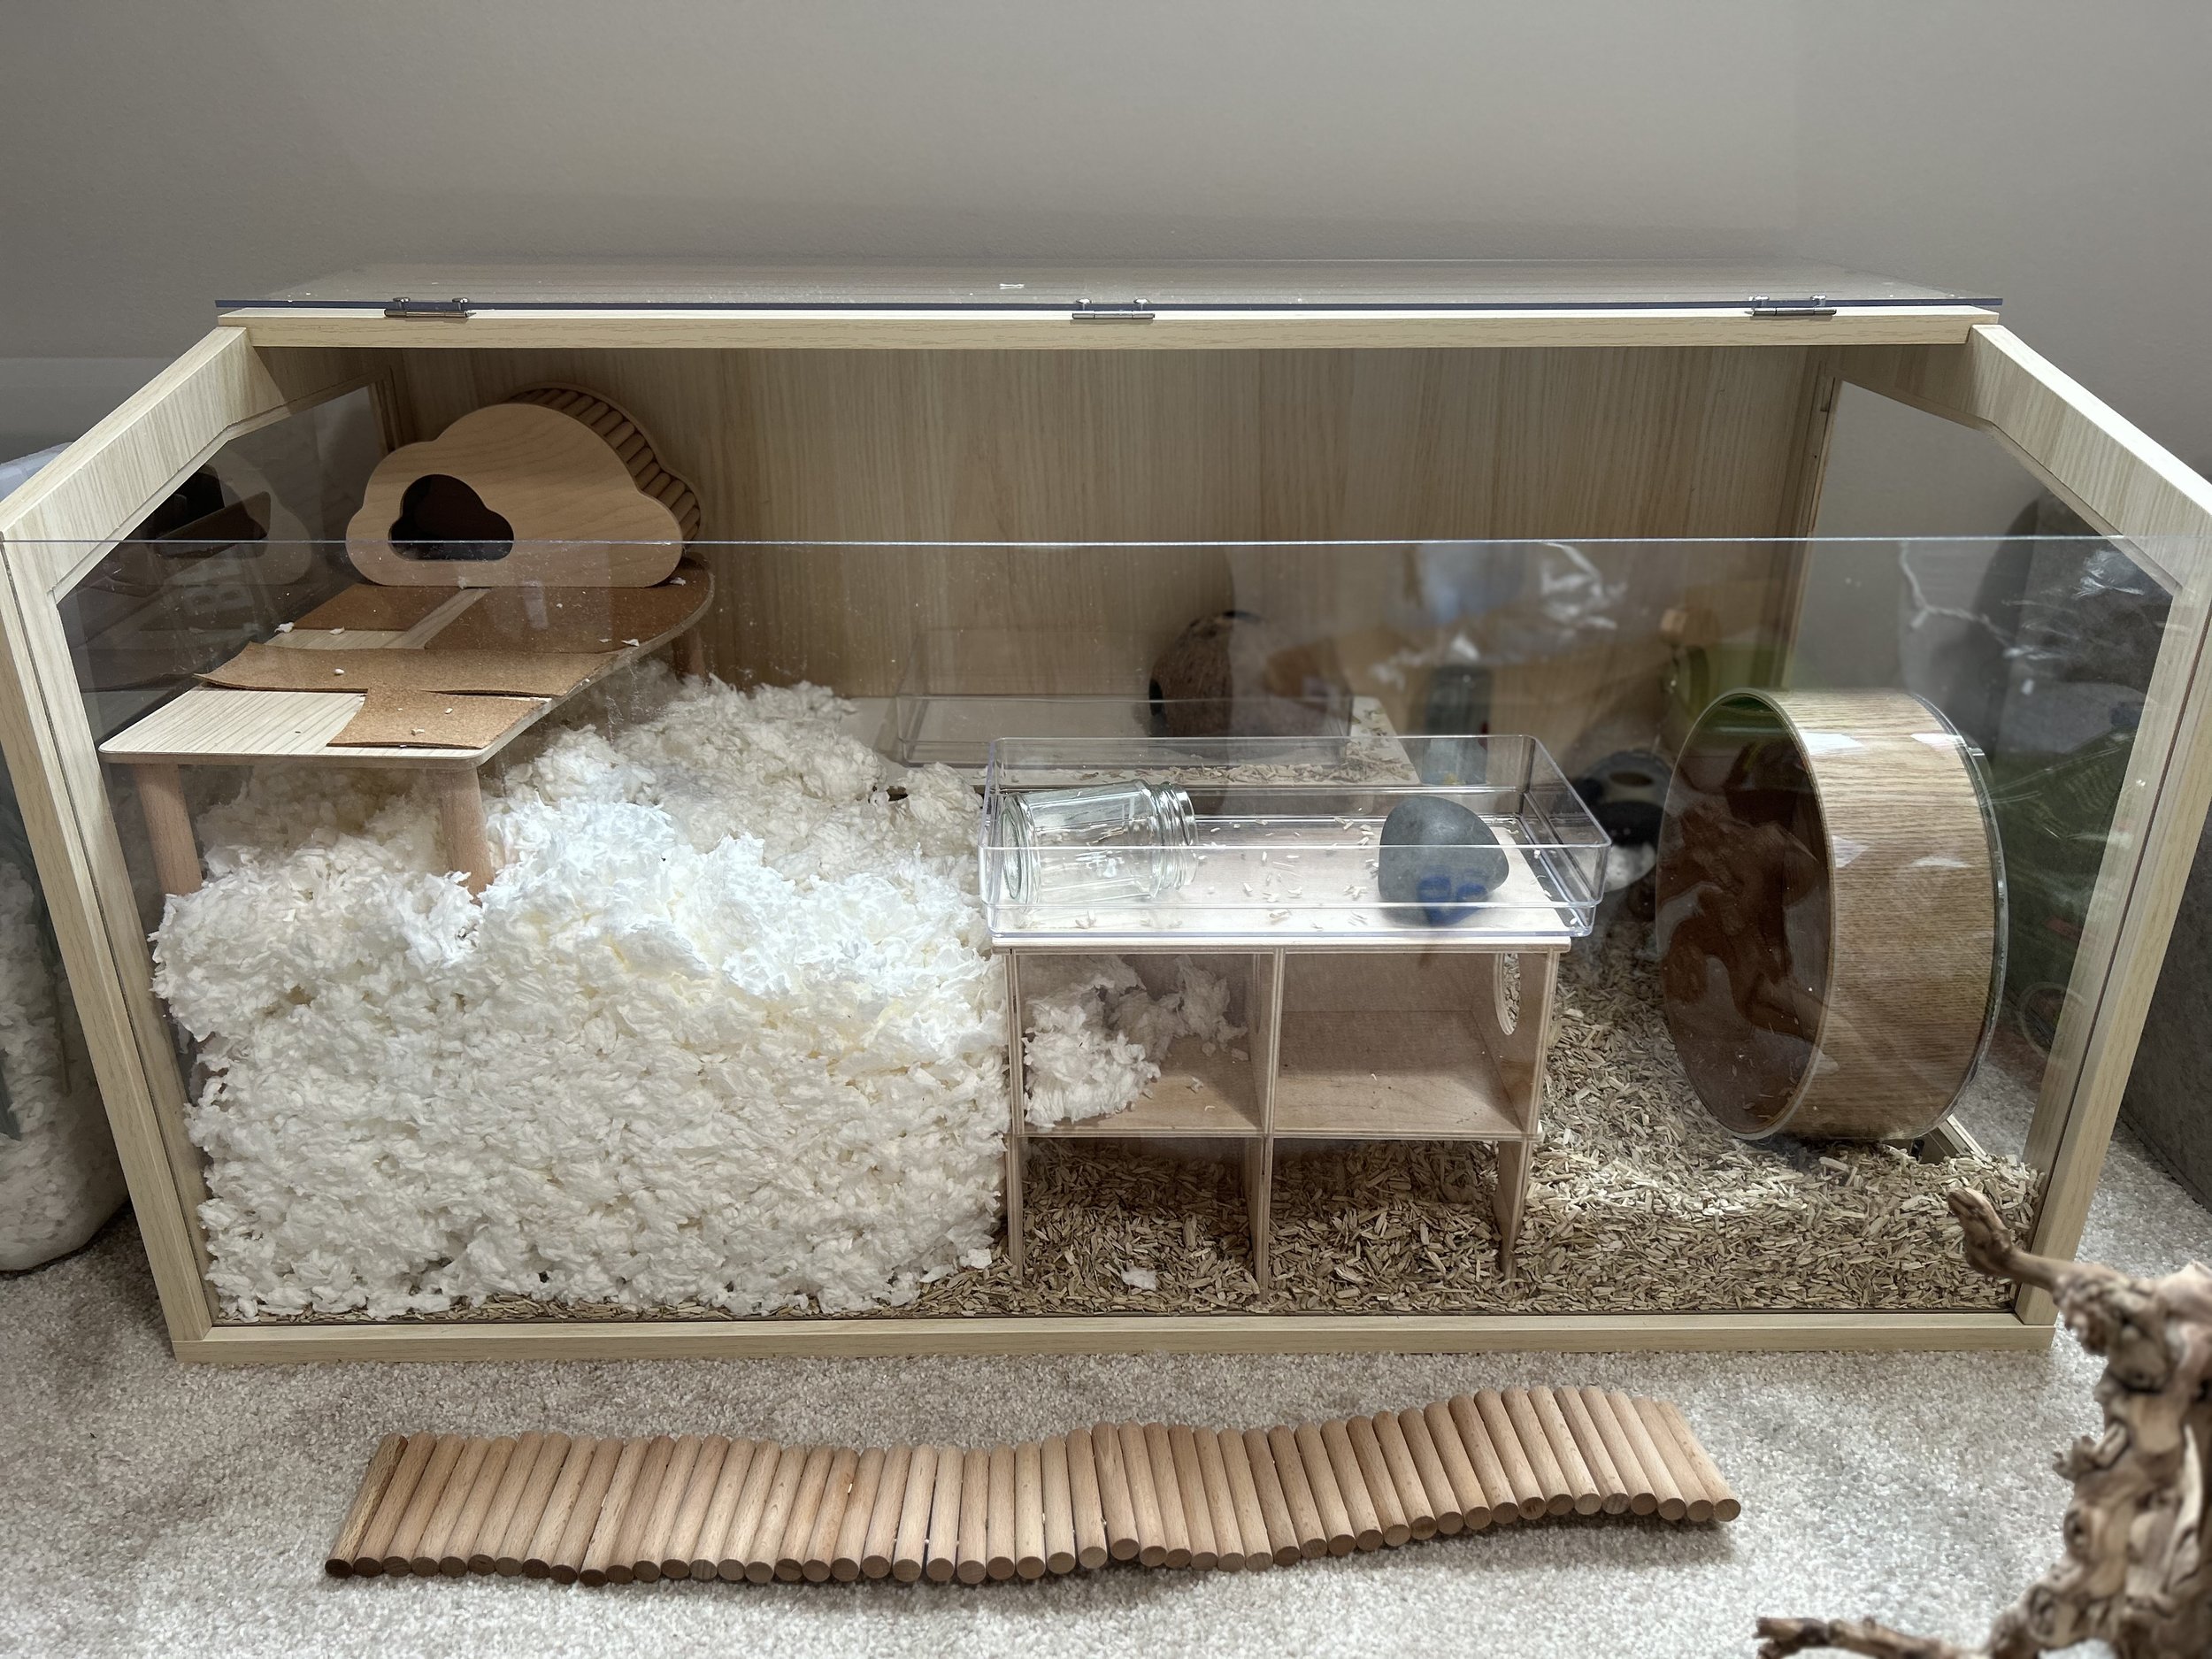
Next I added paper bedding. I like to use white & unscented. White so I can easily spot the dirty parts for spot cleans, unscented because that’s safe for hamsters (scented is no safe for hamster delicate respiratory systems)
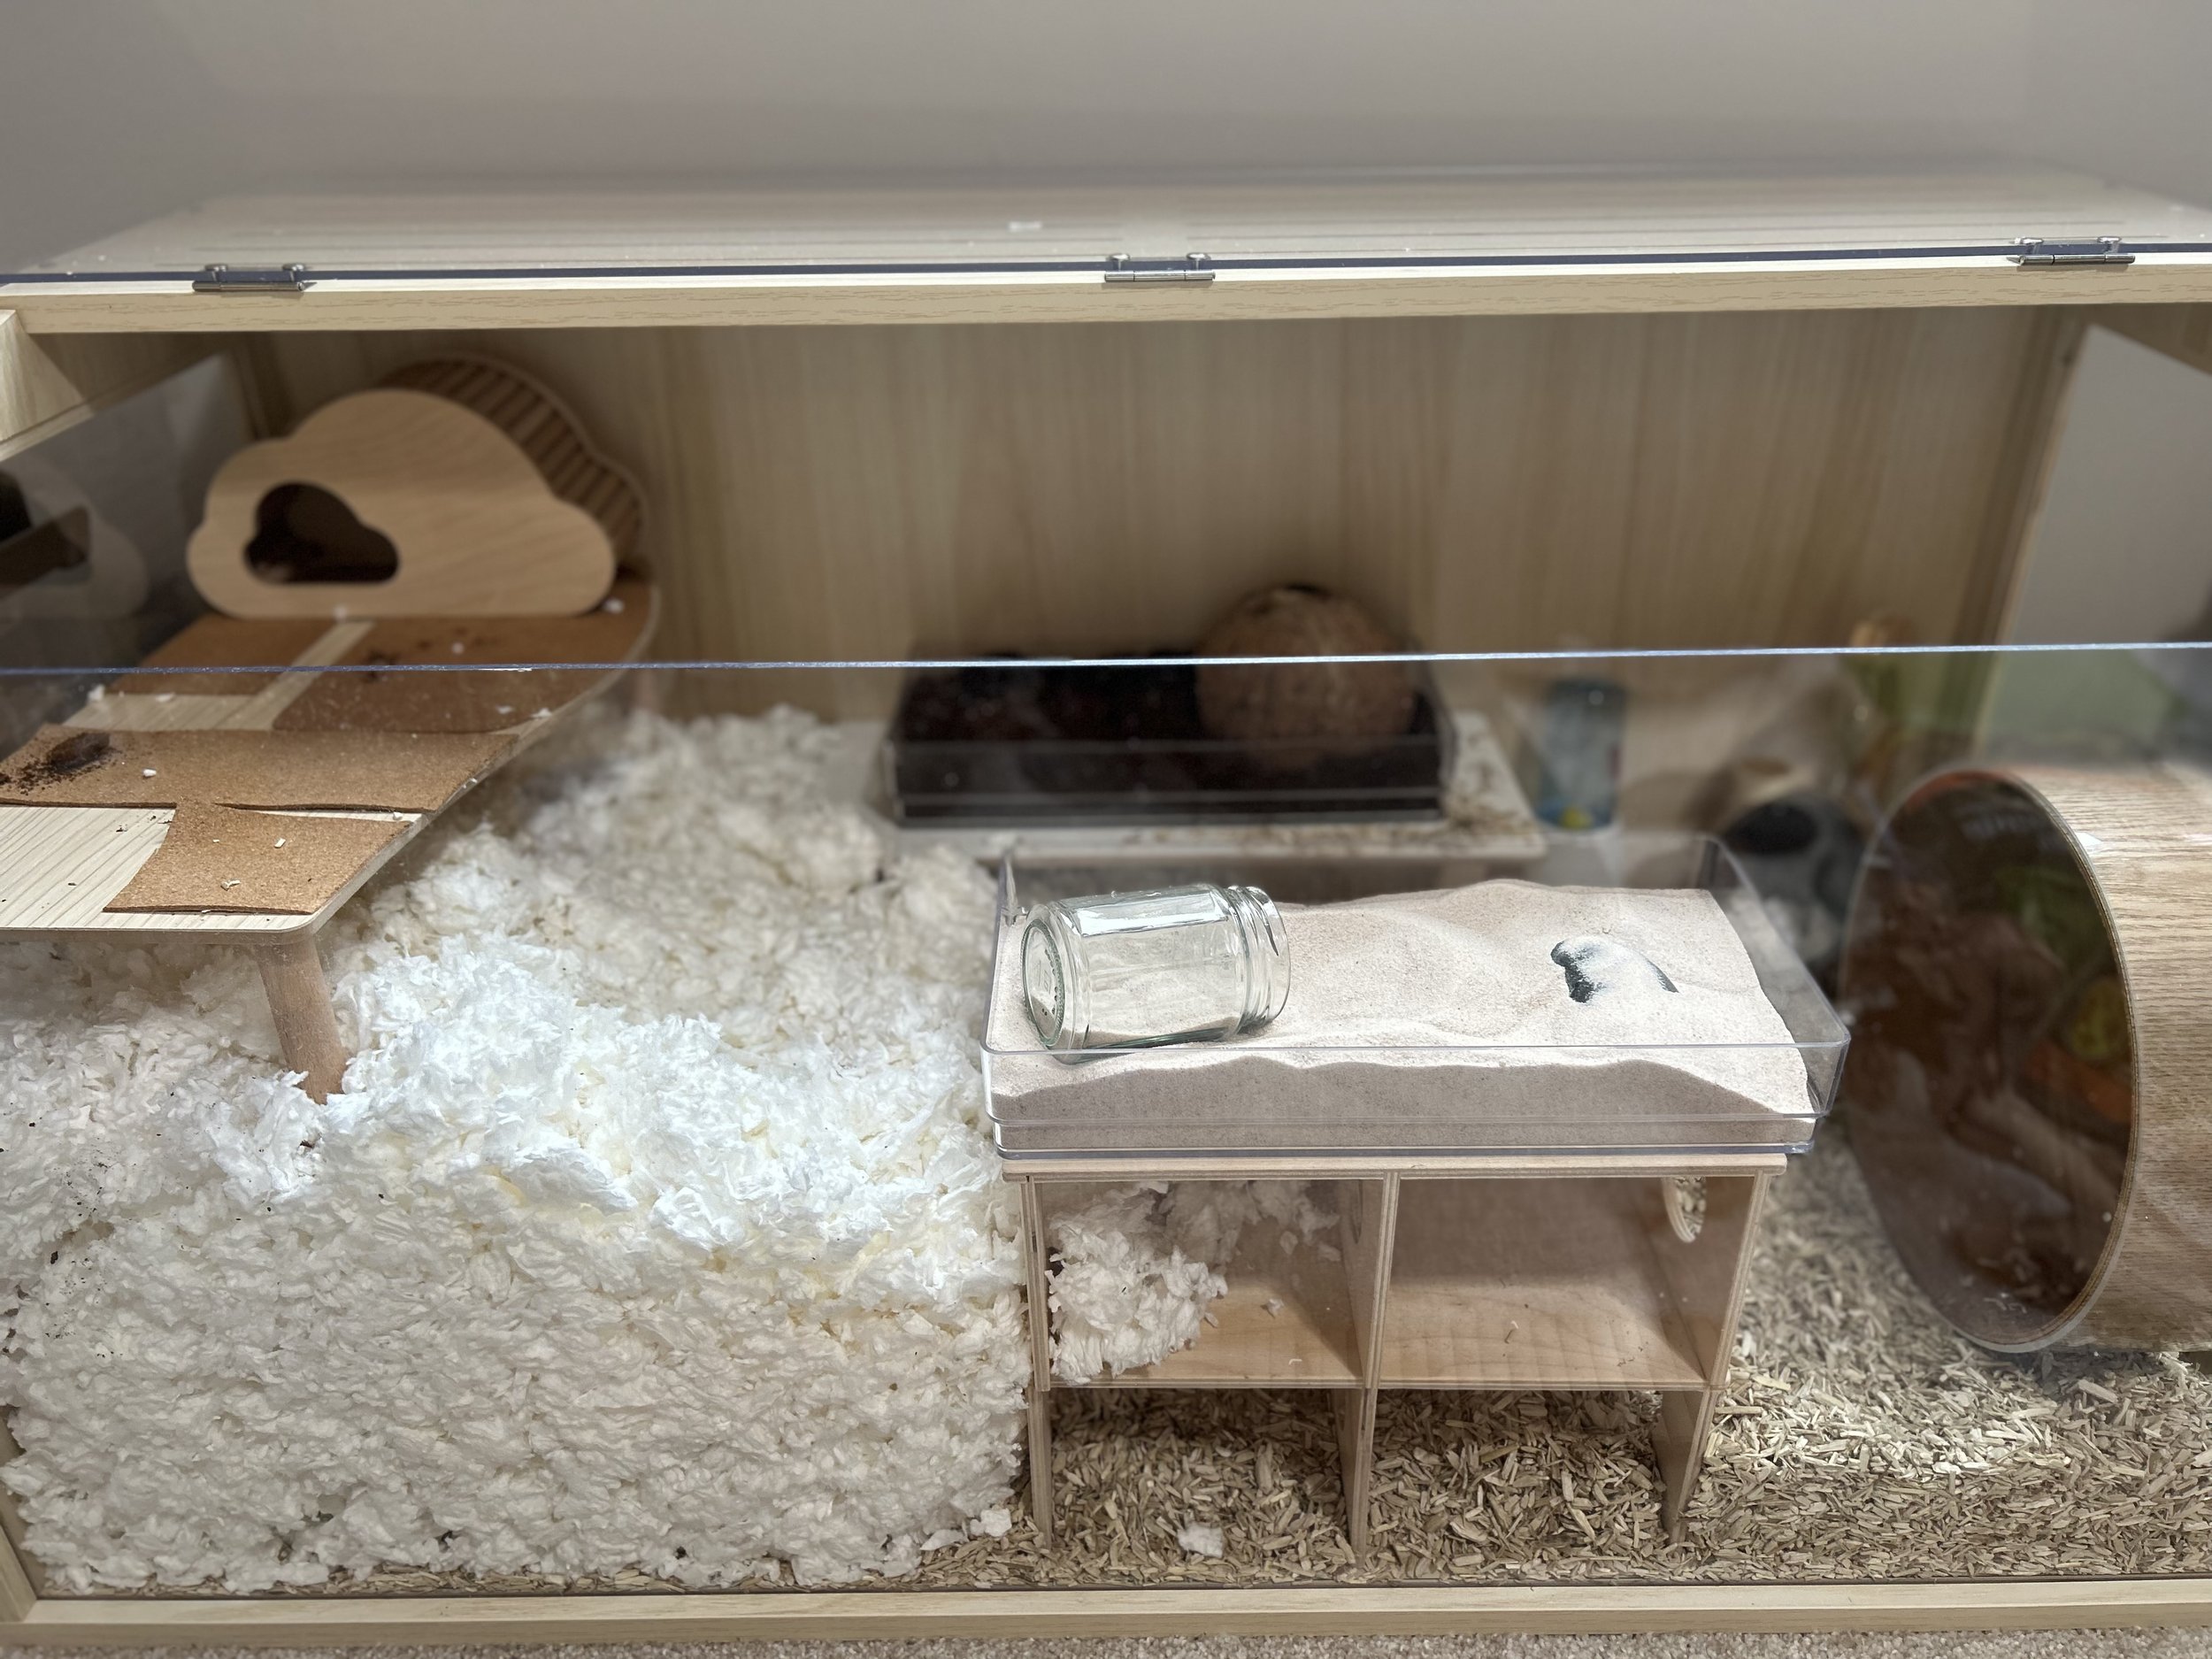
I then added my repti-sand and loose, coconut soil to the acrylic trays
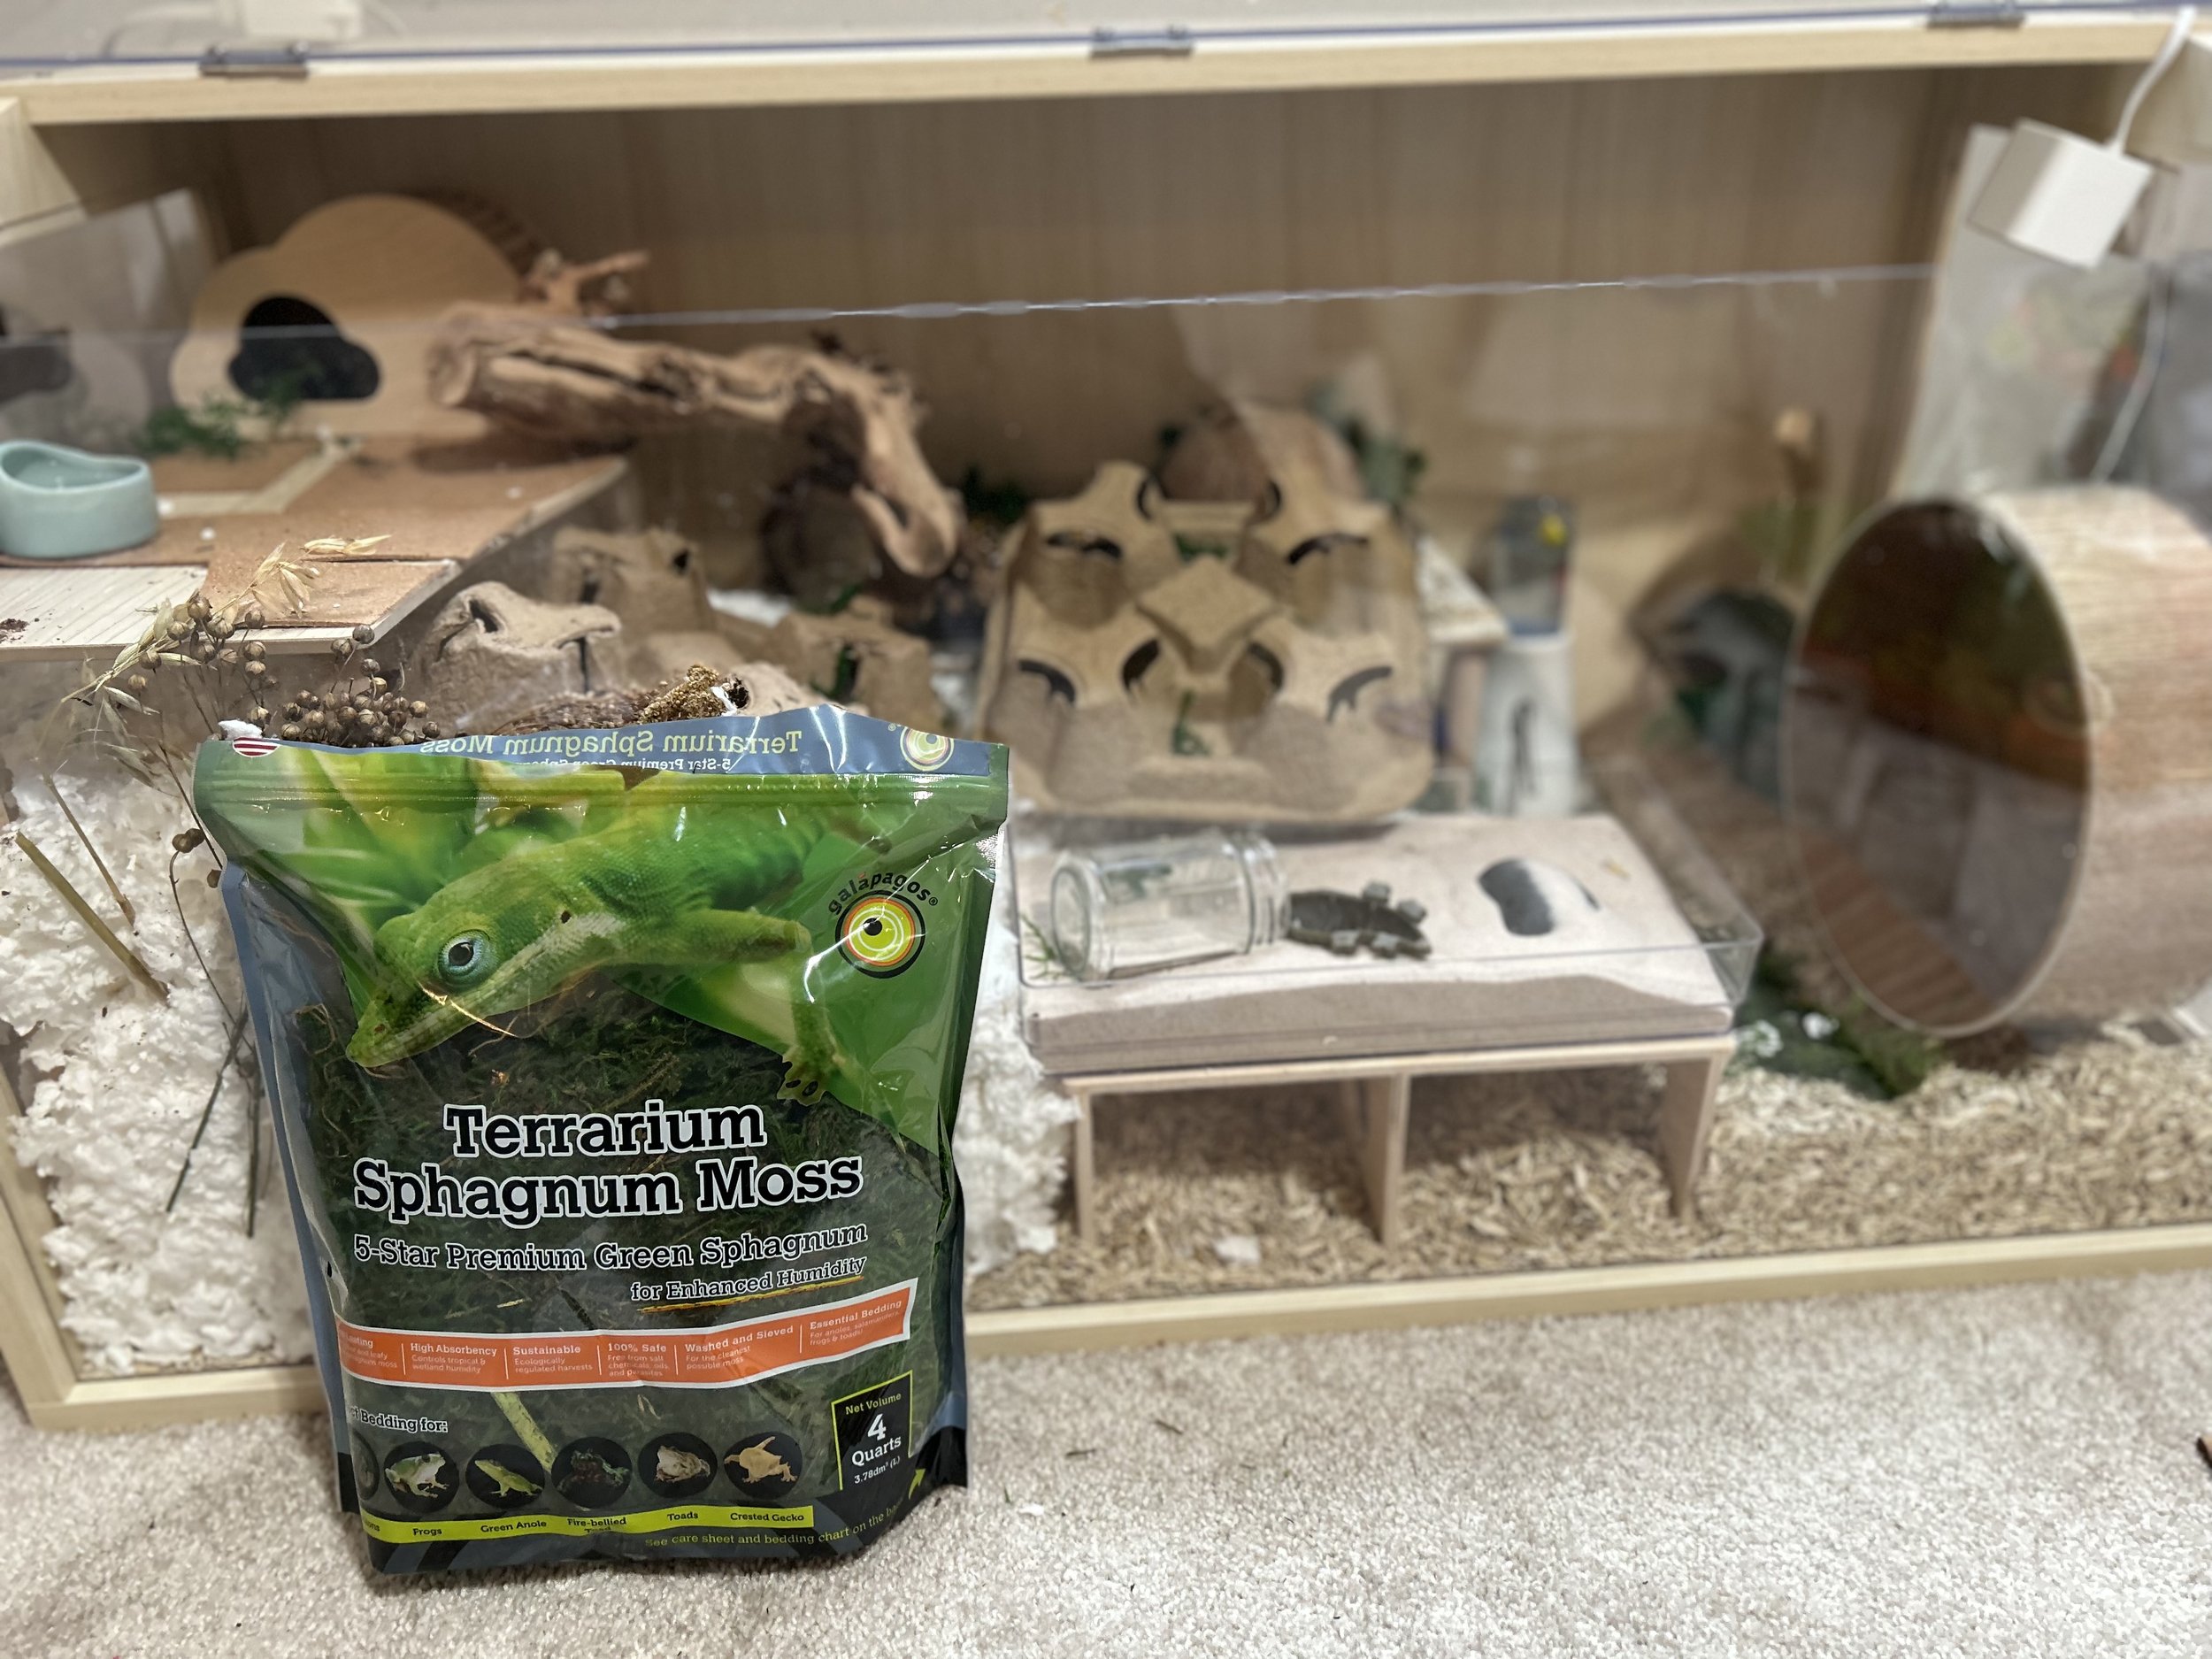
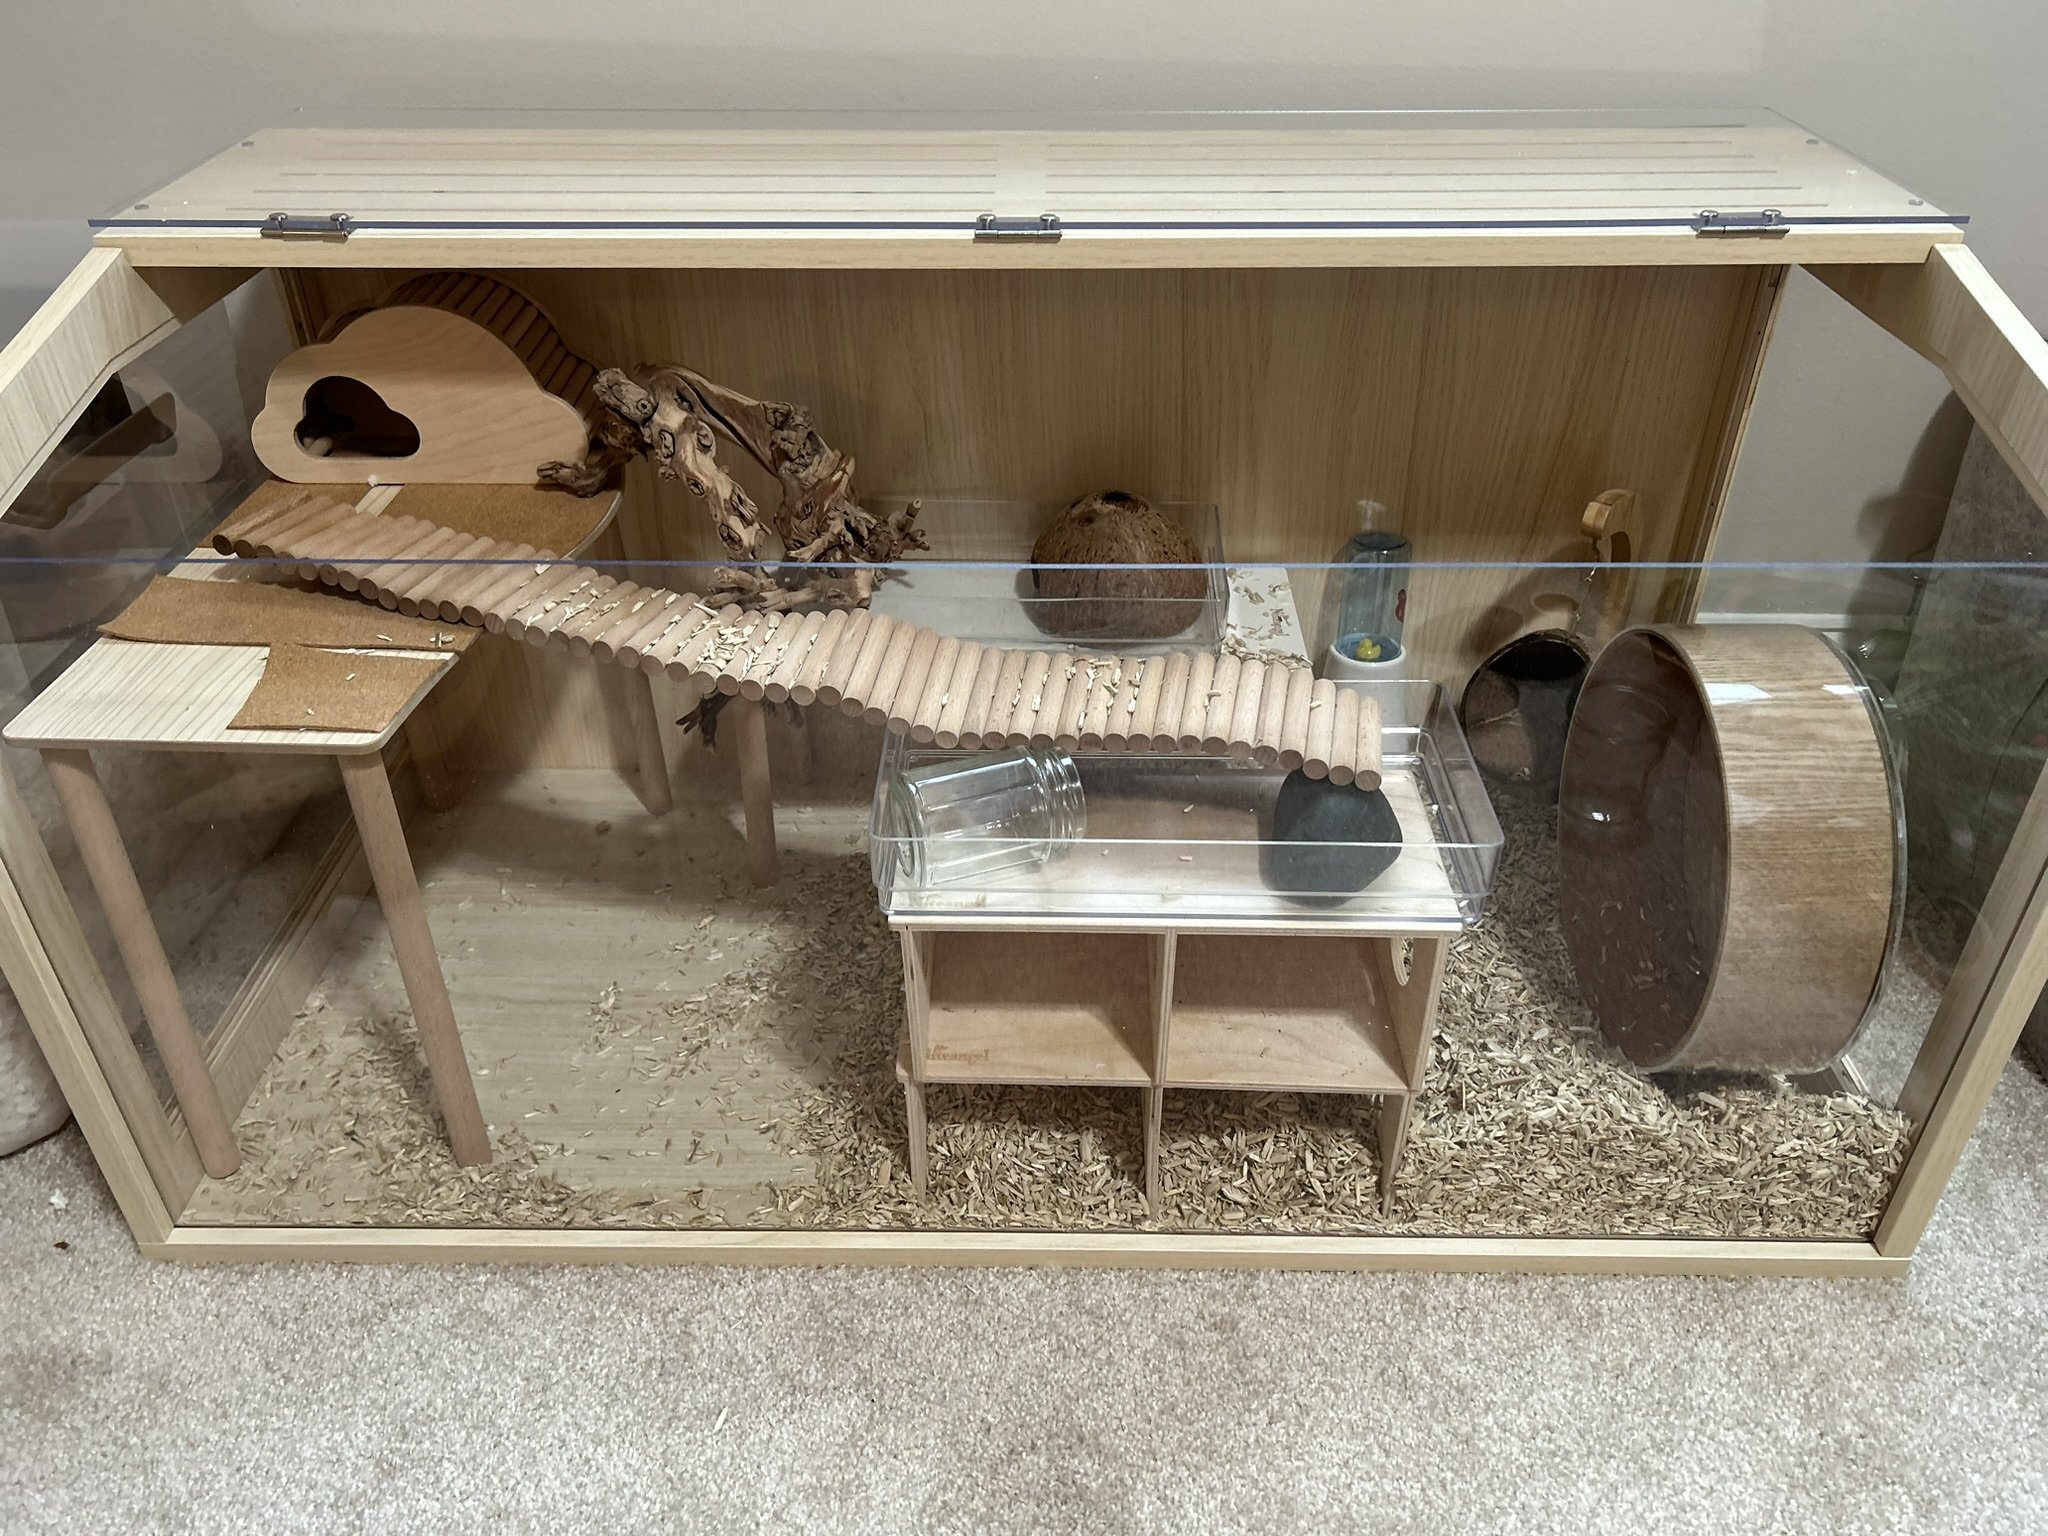
The final step is adding seed sprays and moss around the cage - this provides nice color and an additional texture. Seed sprays are from Oakwood Forest
You can see here I also reduced the double peep shed to just one- it felt like too big of a drop off towards the wheel and I didn’t want the little guy getting hurt.
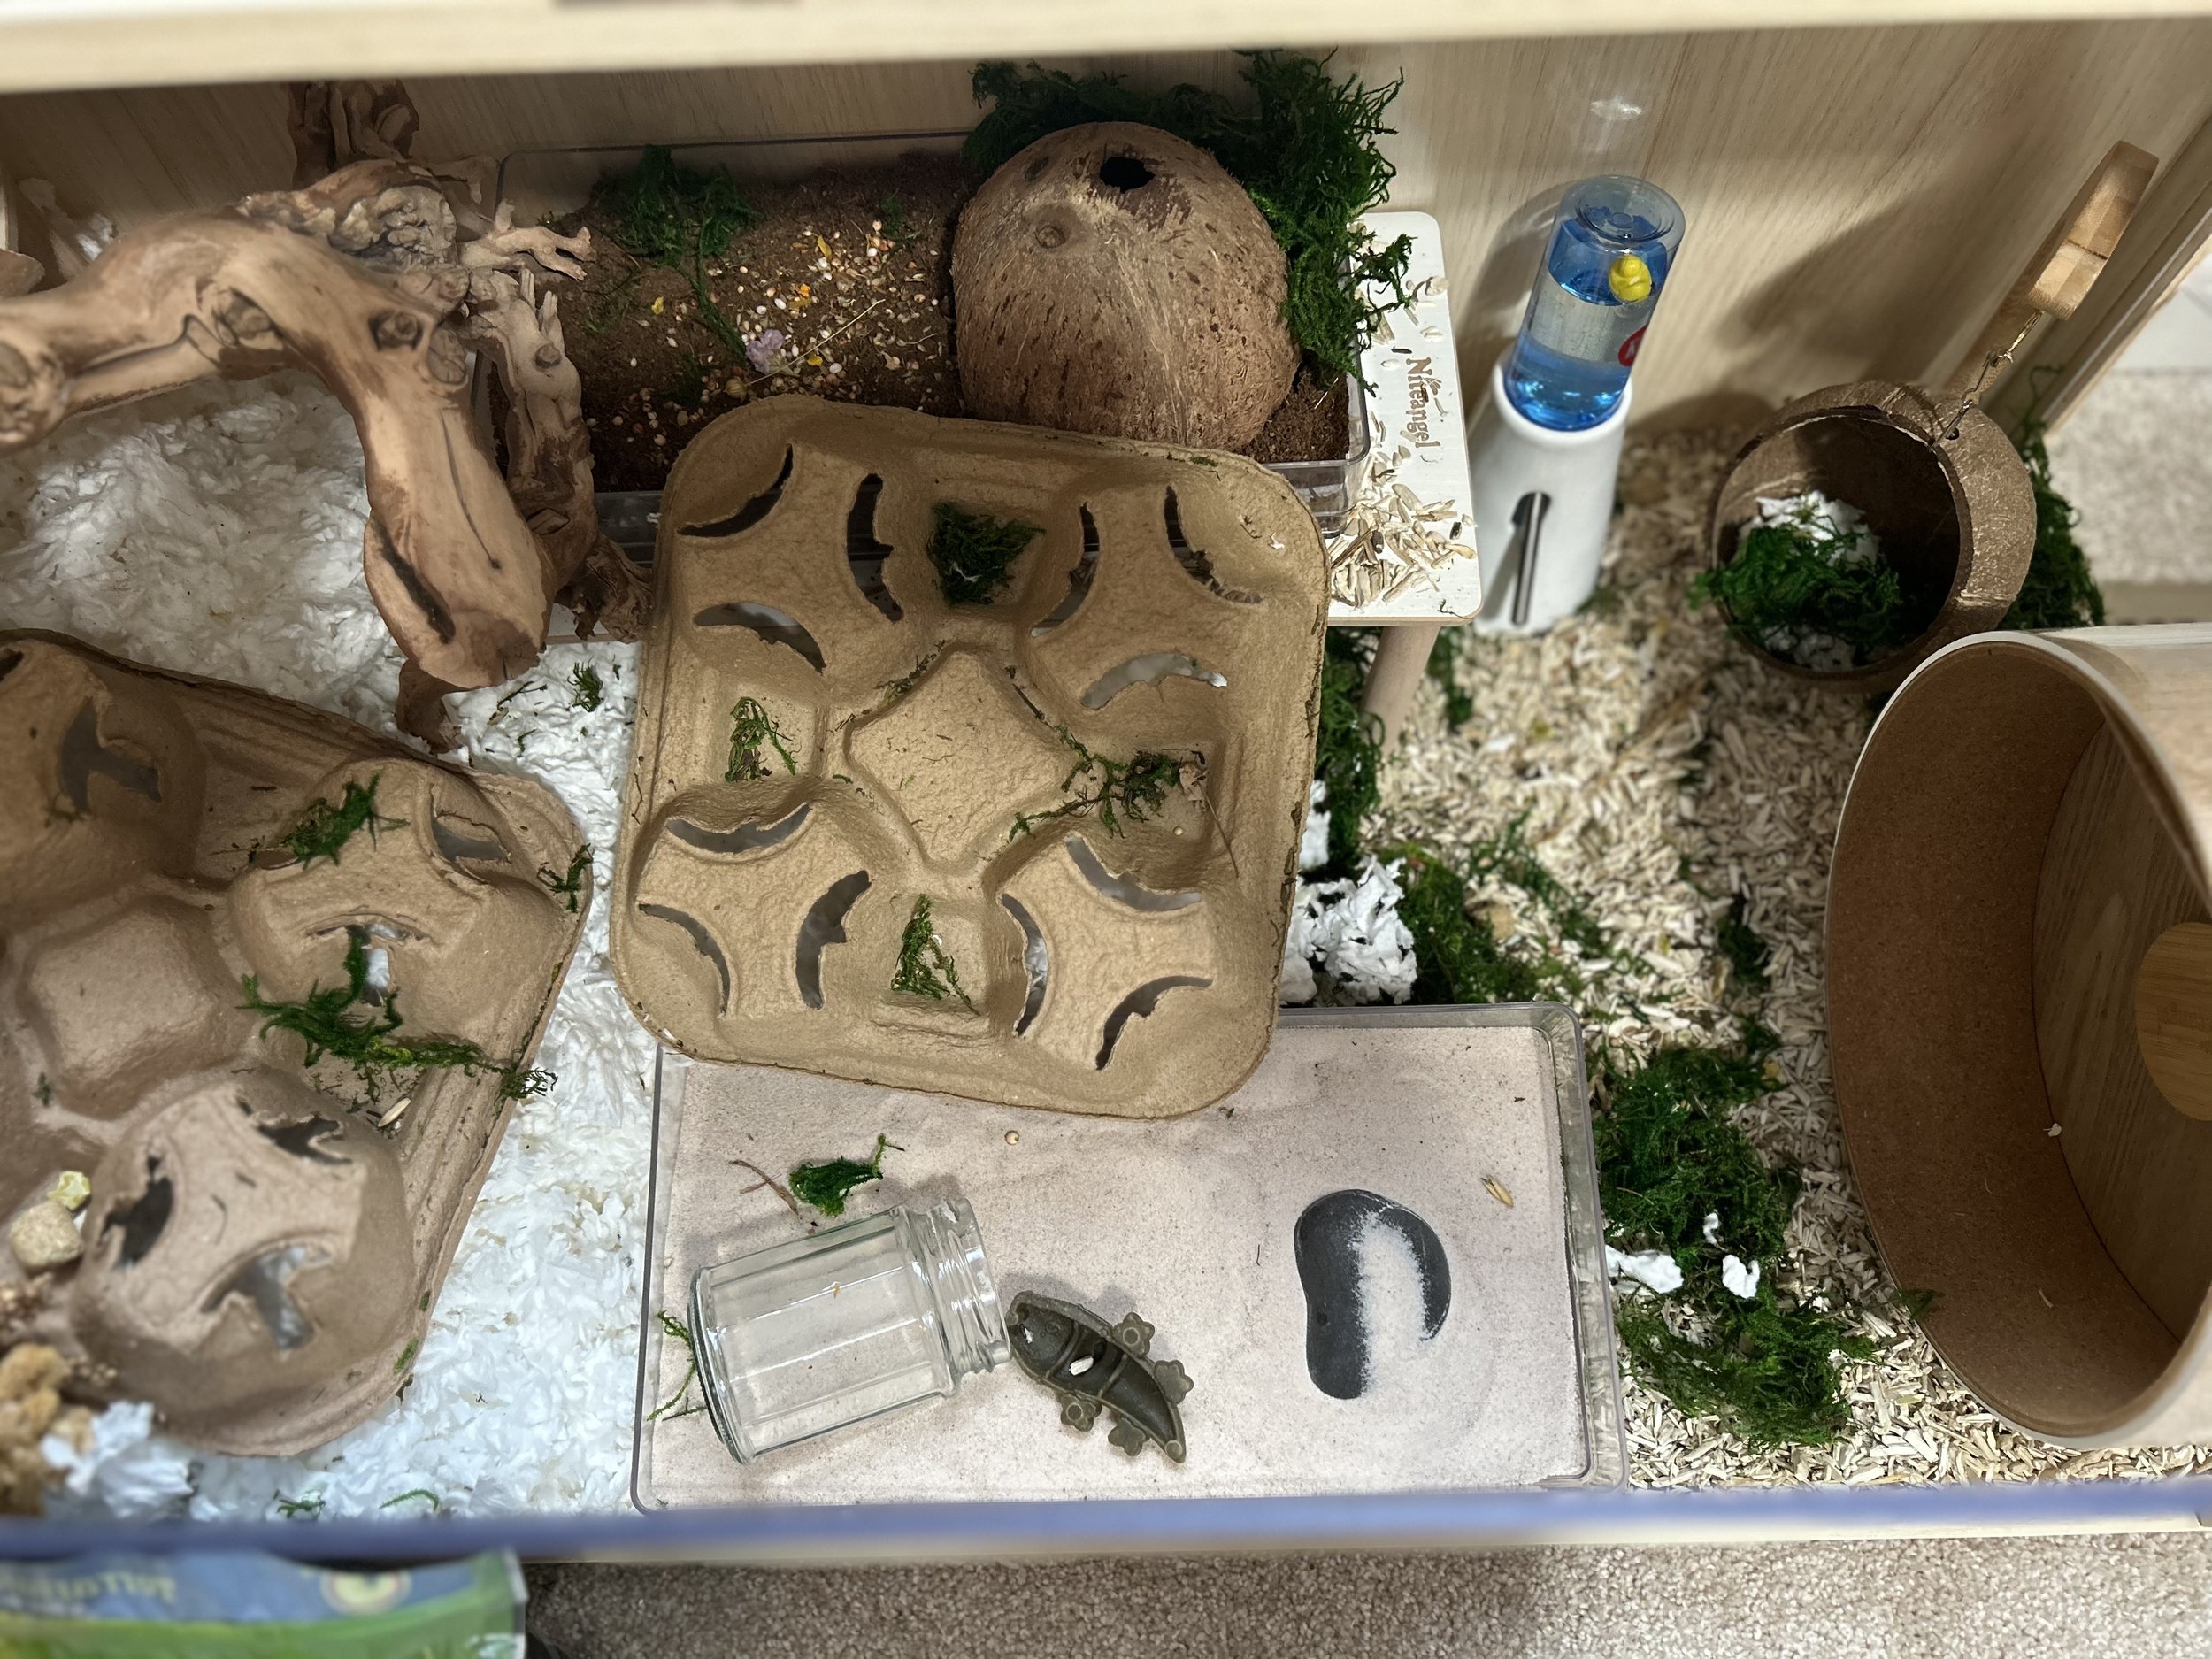
A view from the top- I like to put seeds in the coconut soil for my hamsters to dig in and find their food. I also decided to skip the long bendy bridge and use coffee cup holders instead - they also work well for hamsters!


Step Three: Add hamster, observe, make improvements!

Now adding one Stan (isn’t he cute?!). He’s just over two months old!

And this was the last time I saw him! Little Stan is getting around the cage at night (according to my Wyze cam) but is shy during the day. Hoping he’ll come out for a visit soon!
So… what do you think of my set up? Any feedback? How do you plan and set up your hamster cages?
